Understanding how a motorbike chain works is essential know-how for every bike enthusiast or hobbyist. It is the keystone to knowing how to properly clean and maintain the chain, thus ensuring the long-term performance of the bike. This begins with comprehending the basic mechanism, materials, and structure of the motorbike chain. Equally important is knowing how to select the right tools and cleaning products that will help carry out the job superbly well.
An informed choice requires some research on products such as lubricants, brushes, cleaning solvents, and other helpful materials on the market. What’s more, gaining insight into the step-by-step process of cleaning the motorbike chain is crucial. This guided approach not only eliminates guesswork but also protects the bike’s chain from potential damage. Lastly, post-cleaning inspection becomes highly imperative for maintaining the chain’s good condition.
Understanding Motorbike Chain Mechanism and Maintenance
Understanding the Motorbike Chain Mechanism
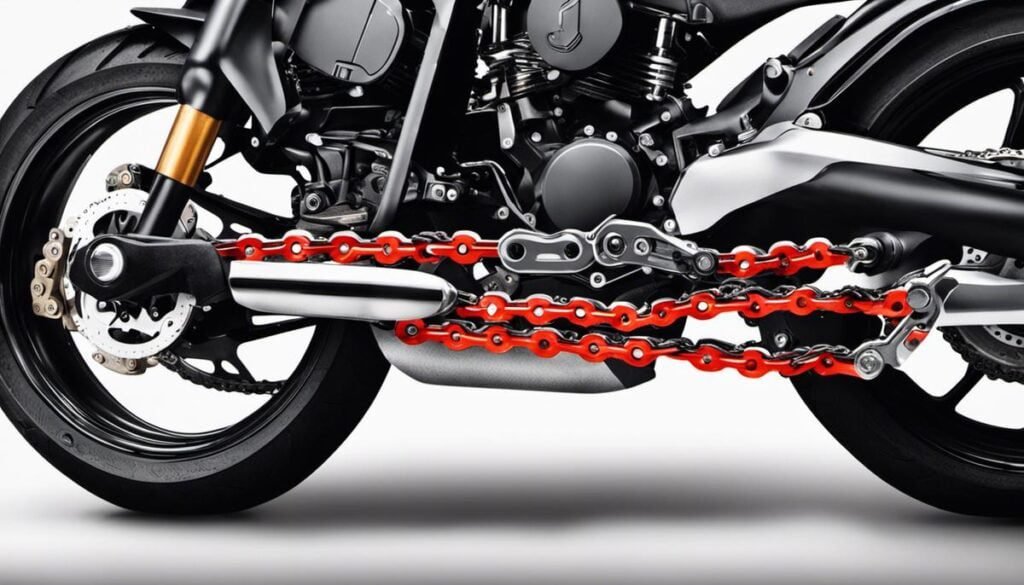
The motorbike chain, also known as the drive chain, plays a vital role in a motorcycle’s functionality. It transfers the power generated by the engine to the rear wheel, enabling the bike to move forward. Comprehending its basic structure is essential for cleaning and maintenance.
Materials used in Motorbike Chains
As previously mentioned, most motorcycle chains are made from alloy steel due to its durability and strength. Furthermore, they are often coated with rust-resistant materials like nickel or even gold, which adds to their longevity.
How Motorbike Chains Work
When the motorcycle’s engine runs, it generates power that is transferred to the chain through a sprocket connected to the engine. The chain then engages the rear wheel’s sprocket, causing it to turn and propel the bike forward. This linear motion is achieved due to the circular action of the chain looping around the front and rear sprockets.
Significance of Motorbike Chain Maintenance
Proper care and maintenance of your motorcycle chain are crucial for various reasons. Firstly, a well-maintained chain ensures that your bike runs smoothly and delivers power efficiently. Secondly, it prevents premature wear and tear on your motorcycle’s drivetrain.
Dirty or poorly lubricated chains are prone to breakage, which can cause accidents and potentially expensive repair costs. Thus, cleaning the chain regularly and adequately lubricating it amplifies the life span of the chain and the overall motorcycle.
Preparing for Cleaning the Motorbike Chain
Before you start cleaning the chain, gather the necessary items such as a chain-cleaning brush, chain-cleaning solvent, rags, and chain lube or wax. Always remember to wear protective clothing like gloves and eye protection to stay safe from chemical splashes.
Take note of any visible damage on the chain links, pins, and rollers before starting the cleaning process. If you notice any signs of excessive wear or any cracked or broken links, it’s best to replace the chain instead of simply cleaning it. Comfortably positioning your bike on a stand where the rear wheel is off the ground will also make it easier for you to clean and inspect the chain.
Choosing The Right Cleaning Tools and Products
Choosing The Right Cleaning Tools
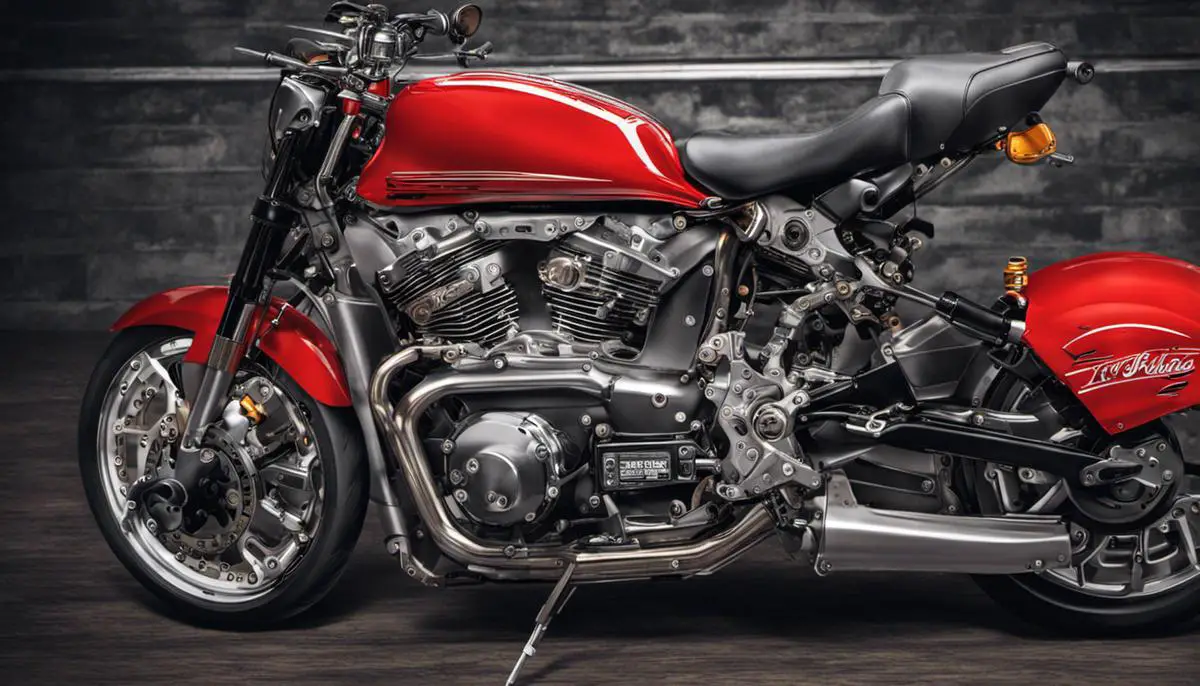
Motorbike chain cleaning relies heavily on the quality of the tools you choose. The first tool you may want to consider is a motorcycle chain cleaning brush. These brushes are typically stiff-bristled, allowing them to scrub away grime and buildup effectively. Look for brushes with an ergonomic handle for comfortable use and durable materials for extended lifespan.
Chain cleaning tools or kits are available as well, and these often include multiple components. Some of these kits have a chain cleaning device that encloses the chain, scrubbing it from all angles when you rotate the wheel. These kits may also include a chain brush and other small tools for cleaning hard-to-reach areas.
Selecting Ideal Cleaning Solvents and Lubricants
Choosing the right cleaning solvents and lubricants is crucial when cleaning your motorbike chain. When it comes to cleaning solvents, it’s essential to use something designed to degrease and remove grime, dust, and old lubricant from the chain. Avoid solvents that are too harsh, as they may damage the chain’s metal or the bike’s paint. There are products specifically developed for motorcycle chains available on the market, including biodegradable options that are less harmful to the environment.
After the chain is clean and dry, a good-quality chain lubricant needs to be applied. Chain lubricants reduce friction between the chain’s components, helping it run more smoothly and extending its lifespan. Ensure that the lubricant you choose is designed for motorcycle chains. Some lubricants are labeled as ‘chain wax.’ These products work differently but can also be a good choice as they repel dirt and water off the chain.
Required Cleaning Products For Motorbike Chain Cleaning
In addition to the tools and solvents already mentioned, certain other cleaning products can be helpful in your chain cleaning routine. These could include clean rags or shop towels for wiping down the chain before applying lubricant and removing dust or lose grime.
Moreover, consider picking up a grunge brush if your chain is quite soiled. These brushes are designed to clean away heavy dirt and grime, making them an excellent addition to anyone’s tool kit.
Finally, always have protective gloves on your hands. These not only keep your hands clean but also protect them from potentially harsh solvents and lubricants.
Also Read: Understanding and Connecting Your Car Battery: Positive and Negative
In conclusion, the perfect combination of cleaning tools and products for your motorbike chain cleaning will largely depend on the specific condition of your chain and your preference for environmental impact, ease of use, and budget. By doing thorough research, you can select the right tools, solvents, lubricants, and cleaning products suitable for your bike.

The Cleaning Process: Step-by-Step
Step 1: Gather Necessary Materials
Before starting, ensure you have all the tools and materials you’ll need on hand. These will likely include a chain brush or an old toothbrush, a chain-cleaning solvent, a rag, motorcycle chain lube, and rubber gloves for protection. You might also need a rear stand if your motorcycle doesn’t have a center stand.
Step 2: Safety Precautions
Always prioritize safety. Use rubber gloves to protect your hands from the harsh chemicals in the cleaning solvent. Use goggles to shield your eyes from any solvent splashes. Lastly, make sure you’re working in a well-ventilated area.
Step 3: Removal of the Motorcycle Chain
While not always necessary, removing the chain can ensure a more thorough cleaning. If your chain has a master link, use needle-nose pliers to remove the clip, and slide out the link. Note: If you’re unable to find a master link, your chain may be of the endless type, which can only be removed by disassembling the swing arm. If this is the case, professional assistance may be needed.
Step 4: Soaking of the Chain in Solvent
Place the chain in a suitable metal or plastic container and completely cover it with your chosen solvent. Let the chain soak for at least 20 minutes to loosen up built-up grime. For stubborn dirt, a longer soak time may be required.
Step 5: Scrubbing of the Chain
After soaking, use a chain brush or an old toothbrush to scrub the surfaces of the chain. Be sure to reach in between the links to remove trapped dirt. If the chain is still dirty after scrubbing, return it to the solvent for additional soaking.
Step 6: Drying the Chain
It’s essential that no solvent is left on the chain before applying lube. Once you’ve finished scrubbing, rinse the chain with hot water to remove any solvent residue. After rinsing, pat the chain dry with a clean rag, then let it air dry for an additional few hours to ensure water trapped in the links has evaporated.
Step 7: Lubricating the Chain
Once the chain is completely dry, apply your chosen motorcycle chain lube. Be sure to work the lube into the chain’s internals where it’s needed the most. A well-lubricated chain will perform better and last longer, reducing the chance of a break or stretch.
Step 8: Reinstallation of the Motorcycle Chain
Reinstalling the chain should be straightforward if you keep track of how you removed it. Reattach the chain around the sprockets and replace the master link. Be certain that the clip is well-positioned and safe.
If at any point your chain seems excessively worn or stretched, has stiff links, or the lubrication process feels uneven, it may be time to consider replacing the chain. Always consult a professional if you’re unsure. Regular chain cleaning and maintenance can extend the life of your chain and improve the overall performance of your motorcycle.

Post-Cleaning Inspection and Maintenance
Post-Cleaning Inspection: Checking the Chain Status
After cleaning your motorcycle chain, you should conduct a thorough inspection. Start by checking the chain’s tension. Incorrect tension can speed up wear and tear, potentially causing a dangerous situation. Refer to your bike’s owner’s manual for the correct chain slack. You can often detect improper tension if the chain is tight in one spot and loose in another.
Also, check the chain for rust, damage, or any sign of excessive wear. Spin the wheel and visually inspect each link as it passes by. Be cautious not to miss signs of a stiff link, as it may mean that the cleaning hasn’t been thorough enough, or the chain is nearing the end of its service life.
Post-Cleaning Inspection: Sprockets Condition
The condition of your sprockets is just as important as the chain’s health. Inspect the sprockets for any worn or chipped teeth. Also, the shape of the sprocket teeth offers clues to the chain’s condition. Rectangular-shaped teeth indicate a healthy sprocket, while shark fin-shaped or hooked teeth suggest that the chain may be stretched and could potentially damage the sprocket.
Regular Maintenance: Ensuring Chain Longevity
Regular maintenance can greatly prolong the life of your motorcycle chain. Apart from routine cleanings, consider lubricating the chain every 300-600 miles. Lubrication prevents the chain from drying out and rusting, which can lead to premature wear and potential damage.
In addition, learn to adjust the chain tension correctly, and perform this task regularly, depending on how much you ride and your riding conditions. Incorrect tension can lead to excessive wear, chain failures, and potentially costly damage to your motorcycle.
Follow Best Practices: Enhance Chain Life
Follow the best practices for cleaning to enhance the chain life. Make sure to use a motorcycle-specific chain cleaner as it is designed to be gentle on o-rings. Never use a wire brush on an O-ring chain as it can damage the O-rings and lead to shortened chain life.
Avoid riding the bike until the chain is dry or until lubricant has been applied, as this can cause the chain to wear prematurely. Remember, taking the time now to properly care for your motorcycle chain can save you both time and money in the long run by avoiding costly repairs or replacements.
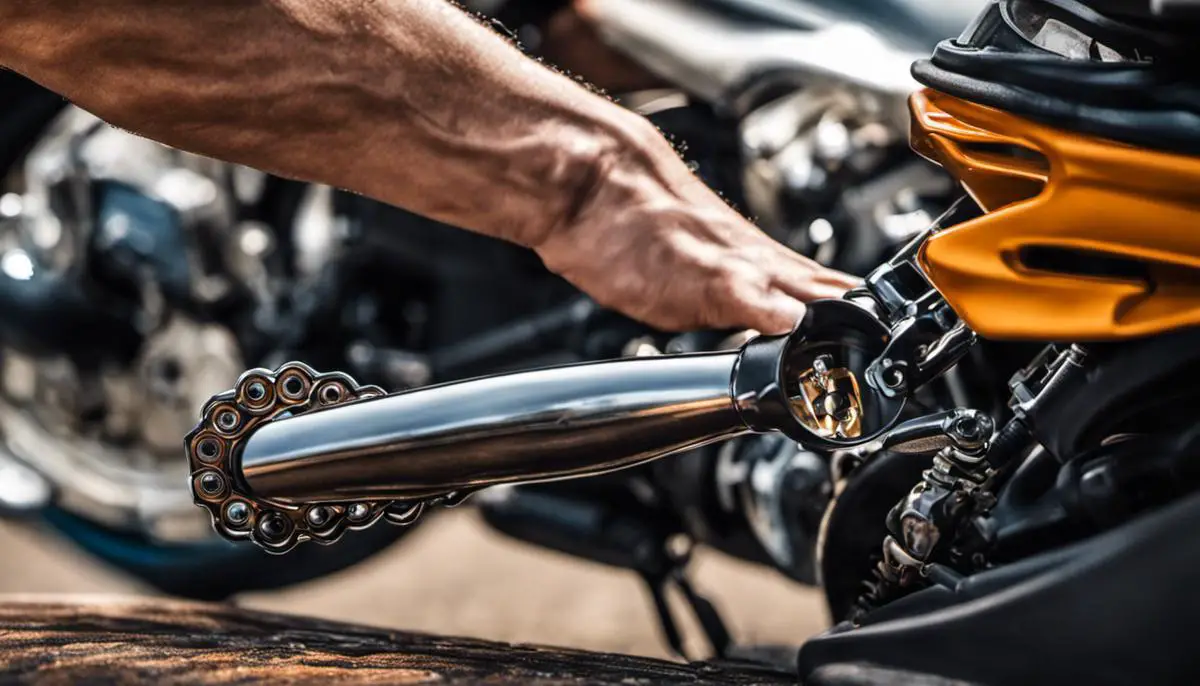
After understanding the cleaning process, attention must be shifted to periodic inspection and maintenance. This ensures that the chain remains in optimal condition and that the longevity of your motorcycle is sustained. By applying the best cleaning practices consistently, achieving a well-maintained motorbike chain becomes a simple and satisfying task for every bike enthusiast or hobbyist. Remember, a clean, well-lubricated chain not only provides a smoother ride but also helps to enhance the lifespan of your beloved motorbike and ensure its efficient performance. Thus, transforming oneself from a novice bike owner to a skilled motorbike chain cleaner is indeed a journey worth traveling, fulfilling the dream of keeping your ride in prime condition.

